Oculus Quest Tagging and Cataloging
By Rodhán
- 4 minutes read - 655 wordsWe are lucky to have six Oculus Quest VR headsets at The Digital Hub that we use for internal projects, for technology demos with client companies, and for education and community initiatives. When we first got the headsets and started setting them up, it was clear that we were going to need to get organised and have a system for managing the process. I wasn’t able to find any online guide so I just made it up as I went along, and now I am sharing it in case others find it useful.
Asset Tagging
With all of the accessories, etc. there was a lot of pieces to keep track of so we need to label the individual parts. First things first, we came up with a naming scheme - these pieces of equipment are Digital Hub Virtual Reality equipment so I decided to name each one DHVRn where n is a number from 1-6. Not too imaginative of a naming scheme, but it will do the job.
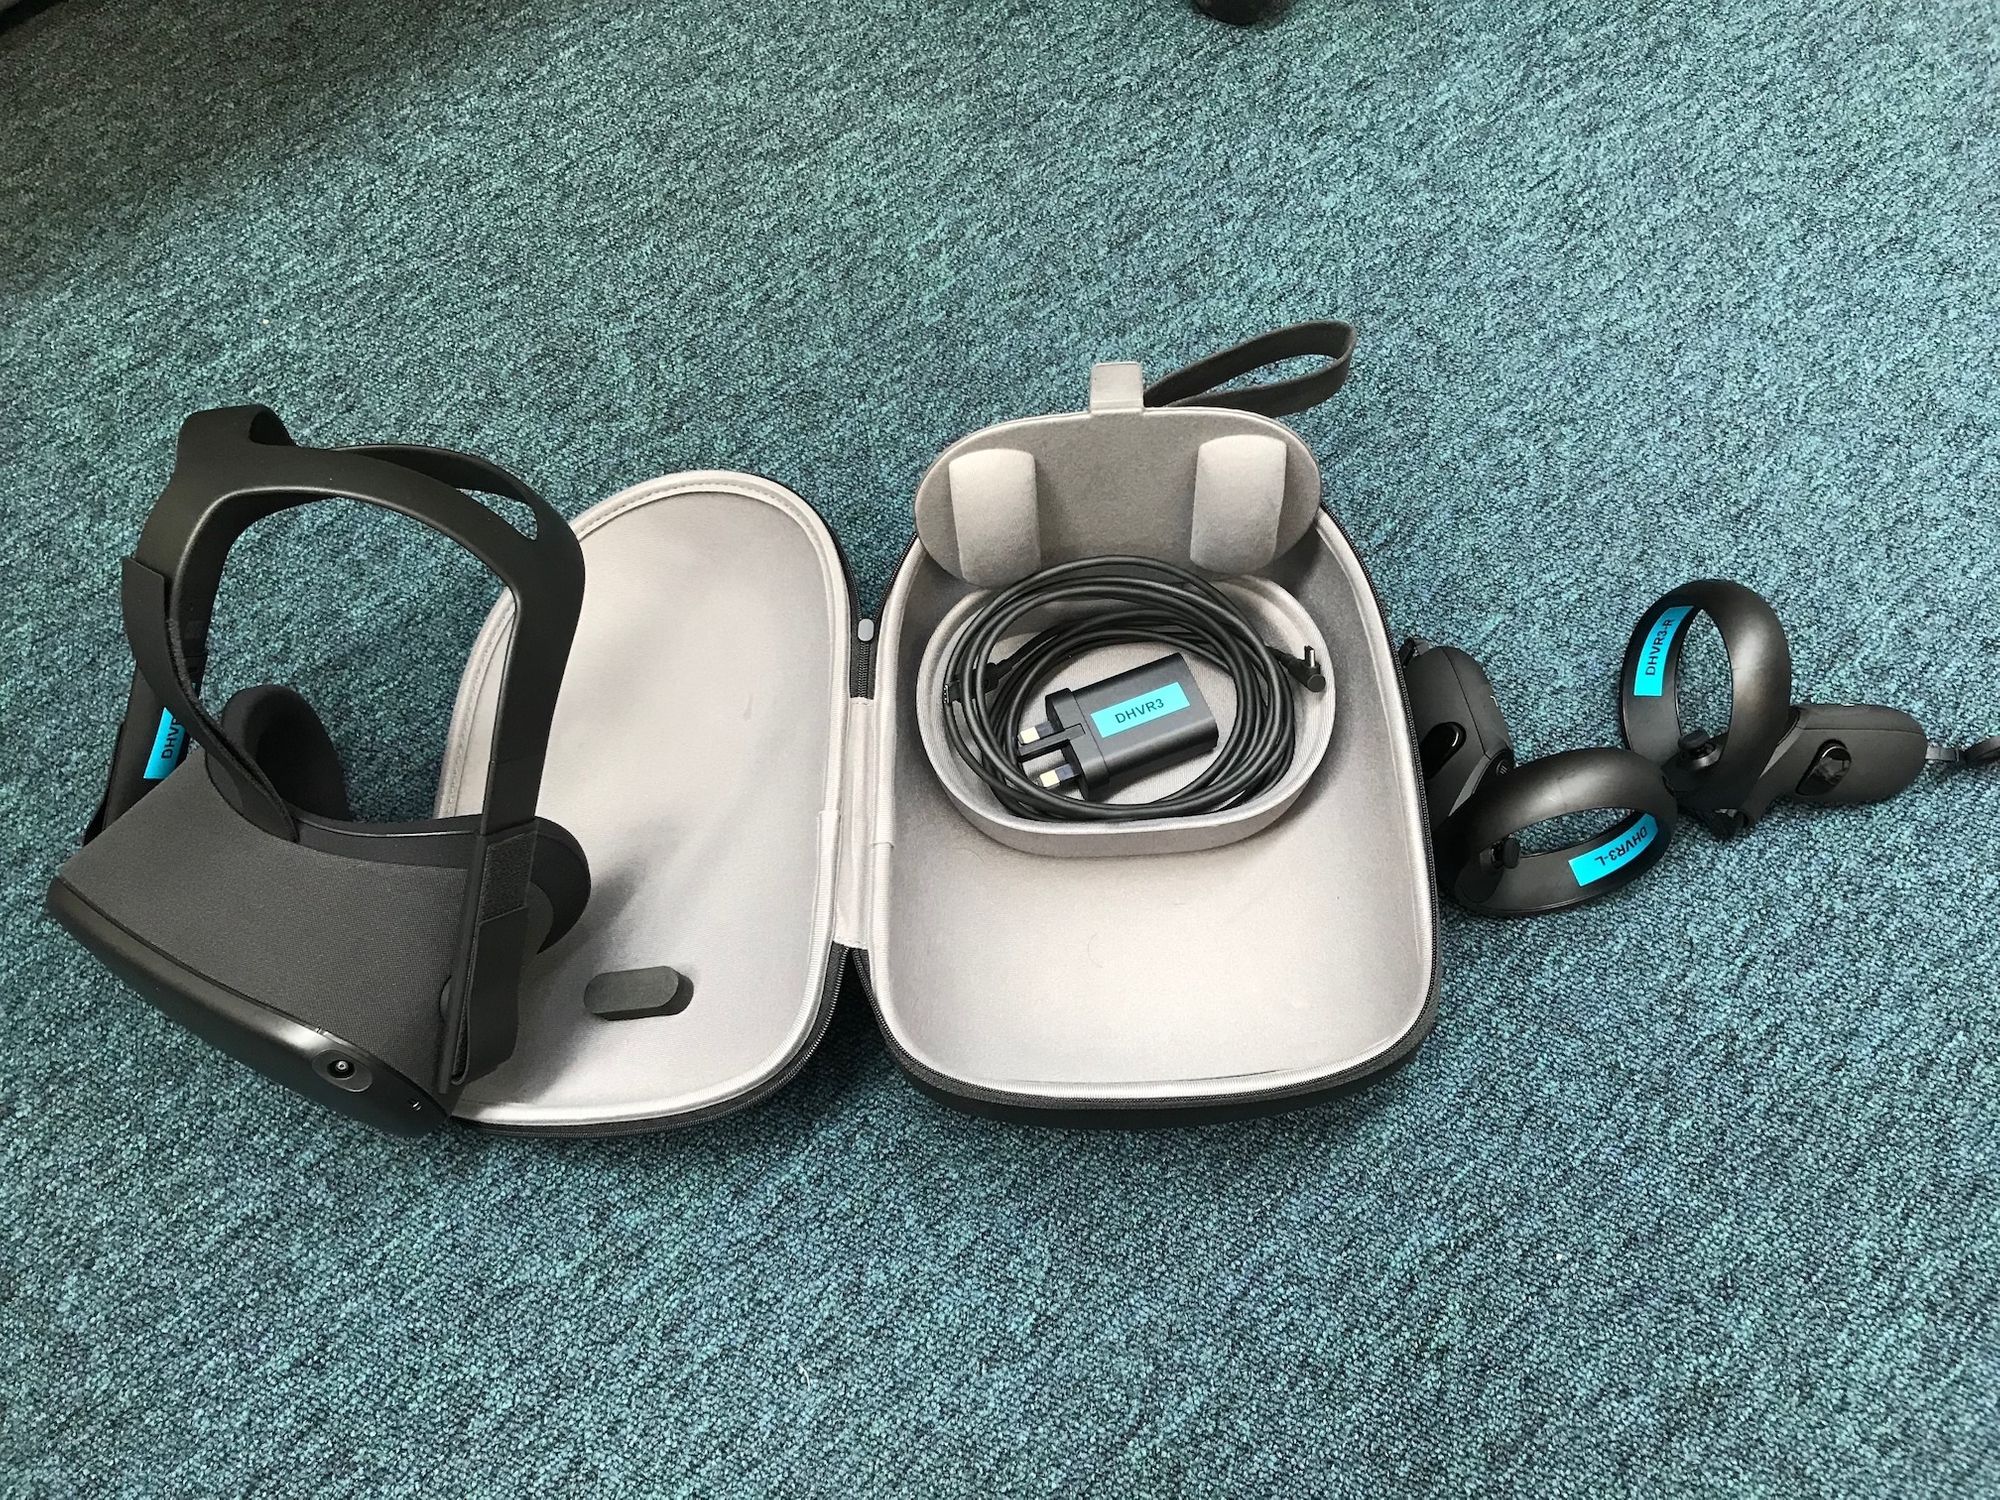
Each kit has a headset, a charger, a left controller, a right controller and a carry case, so we printed labels for each of these.

We wanted the labels to be obvious enough that they are easy to read, but not to stand out too much when the headsets are in use. We put 2 labels on each headset on the backs of the arms so that they are mostly invisible during normal use, but easy to see and unlikely to get rubbed off by accident. Similarly, I put the labels on inside of the ring of each of the controllers so that it is not too conspicuous. I added a “L” and “R” to the labels for the controllers so we don’t get our left and right mixed up! Finally, I stuck a label on the case so we can tell the kits apart when they are on a shelf. These don’t stick all that well to the fabric of the Oculus case but work well enough.
Asset Cataloguing
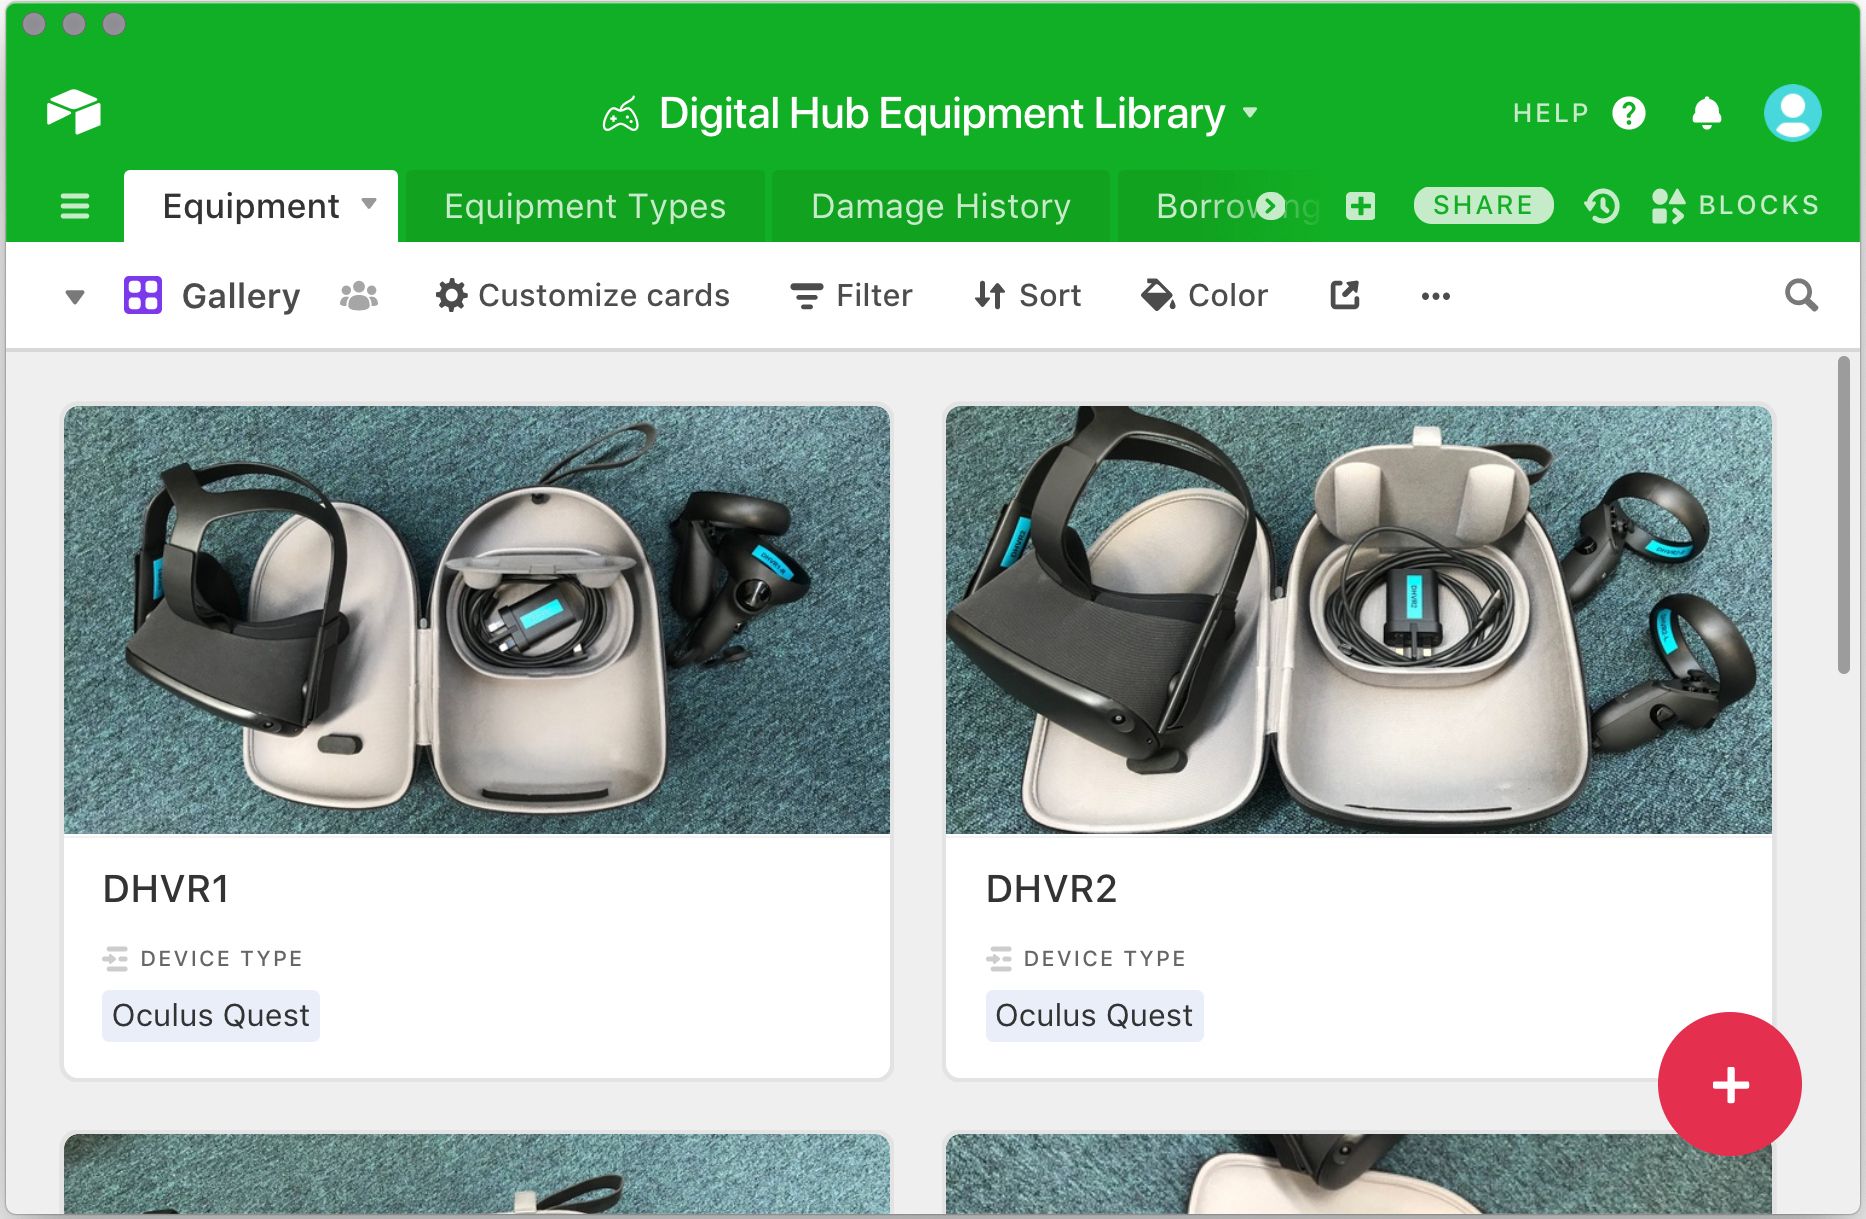
Now that we have all of our kit labeled, it was time to record the details somewhere. There are plenty of ways to do this from the simple spreadsheet (or even simpler pen and paper!), to the full on complexity of a library management system or an app like Delicious Library. I chose to do something in the middle and used Airtable - “works like a spreadsheet but gives you the power of a database to organise anything.”
I created a main table for tracking the equipment with fields for serial number, current location and a photo of the whole kit. I also added some linked tables for tracking when people borrow the equipment so we always know where it is, and one for tracking damage to the equipment, although hopefully we won’t be needing that too often!
Oculus Quest Serial Numbers
While we have a nice short identifier for each headset, unfortunately there is currently no way to rename the devices themselves so they will always be identified in the app and on-device by their long serial number. That is why it is important to record the serial number directly in the Equipment table alongside the name we have given the device.
Here’s how to locate the serial number on the device (from Oculus Support):
On the right-hand side of your headset, gently pull the strap arm back away from the lens to expose the 14-digit alphanumeric serial number. Note: If your headset straps are on a looser setting, the serial number may already be exposed without having to pull back on the strap.

If you’re interested, you can see a template of the Airtable I created here which you are more than welcome to copy to create your own library.
Next Steps
And that’s how we tagged and catalogued our VR hardware. Next time I’ll share how we manage the configuration of multiple Oculus Quests.