Configuring Multiple Oculus Quests
By Rodhán
- 5 minutes read - 898 wordsAs I mentioned last time, we have six Oculus Quests at The Digital Hub that we use for internal projects, for technology demos with client companies, and for education and community initiatives. We usually want to have all six of them set up the same way with the same apps so we use a single Oculus account to log in on all headsets.
Create an Email Address
As we are going to use a single account to sign in to all headsets, it makes sense for that to be a generic email address that can be shared with others without worrying about giving access to your email. So, the first step is to create a specific email address for the devices either by requesting it from your IT team (e.g. [vrheadsets@your-org.com]) or creating your own with Gmail (e.g. [my-vr-headsets@gmail.com]). This email address should then be used in all steps below.
Reset the Headsets
If you have previously set up any of your headsets with another account you will need to perform a factory reset on the device before logging in with a new account. This isn’t as daunting as it sounds and only takes a few moments, but do heed the warning from Oculus on this: Performing a factory reset on your Oculus Quest is irreversible and will remove all account information, device data, downloaded games and content from the device.
If you’re ready to continue here are the simple steps (from Oculus Support):
- Turn off your Oculus Quest.
- Hold the power and volume (-) buttons on your headset down simultaneously until the boot screen loads on your headset.
- Use the volume buttons __ on your headset to highlight Factory Reset and press the power button.
- Use the volume buttons on your headset to highlight Yes and press the power button.
That’s it - the headset will be back in the fresh state it was in when it left the factory.

Install the Oculus app on a phone
The simplest step of all, either search the App Store or Google Play Store for the Oculus app, or follow the appropriate link from the office Oculus Setup page.
Create an Oculus account
Oculus would prefer you to sign in using Facebook and create a linked account but it is still possible (for the moment) to create a standalone Oculus account which is preferable for shared devices. Note that some apps, like Oculus Venues, do require a Facebook-linked account but for the most part, a standalone account still works for everything else.
Step 1: Launch the Oculus app, click “Create a new account” and then click the link to “Create Oculus account using email address”. Remember to avoid the “Continue Using Facebook” button.
Step 2: Enter your email address, or the new email address you created in Step 1 above, click Next and enter a password.
Step 3: As this is a shared device you are probably going to need to share this password with other people in your organisation so it is important not to use a personal password, but also important not to compromise security by using too easy a password. There are lots of free password generators that you can use to make a nice shareable password. I like DinoPass because I like dinosaurs!
Step 4: Before you finish the registration process you need to create a username for the account which will be visible to others when you are in shared experiences, and finally enter a First name and Last name for the account. As this is a shared account I just made up a name like first name VR, last name Headset.
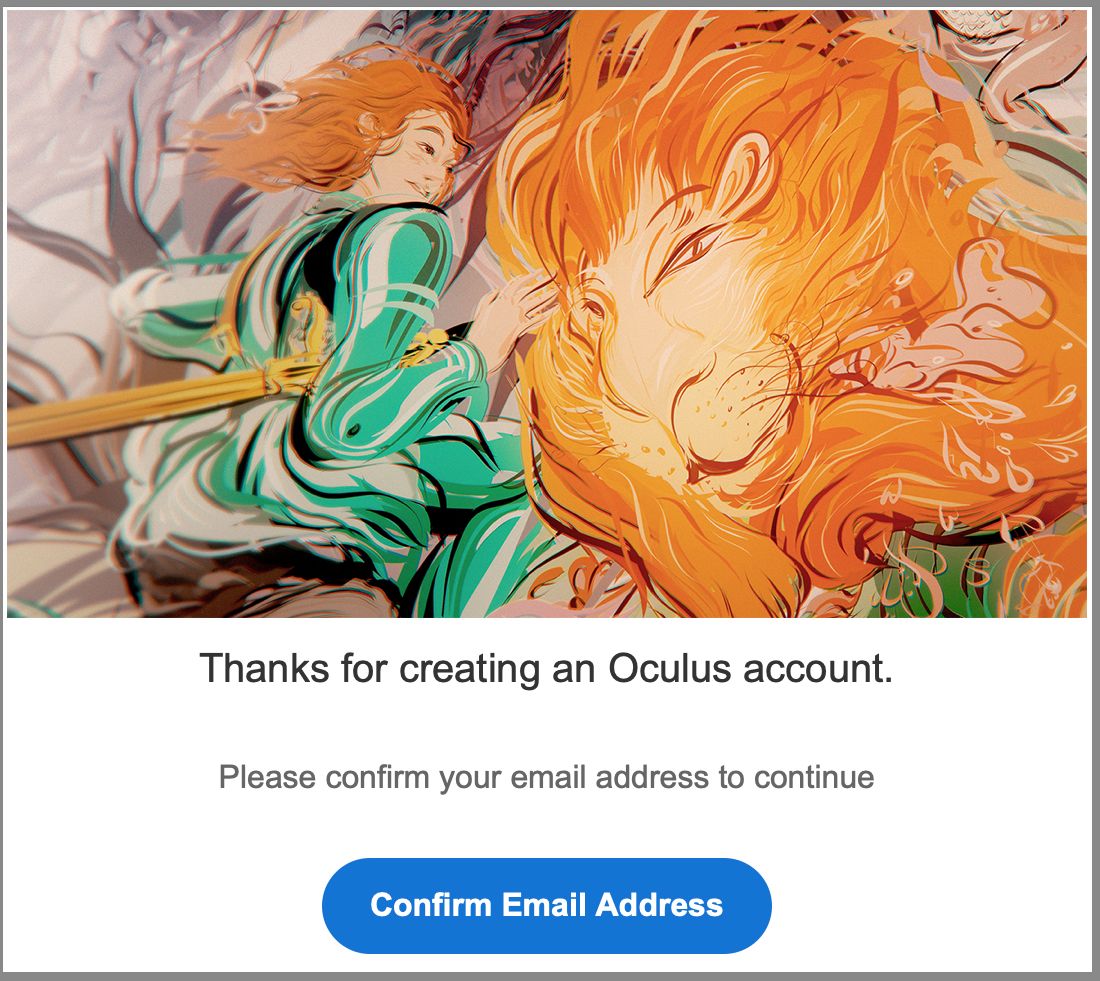
Step 5: Oculus will send a confirmation email to the address you entered, and once you have clicked the link the email you are ready to sign in to the app with the account and start setting up your headsets.

Configure the Devices
Launch the mobile app, login with your shared account, and go to the Settings tab. Here you will see a list of all the devices you have configured so far. Choose the “Pair New Headset” option to add a new one, and select “Oculus Quest” to launch the add new headset wizard.
You can ignore and tap through the step where you are asked to plug in the device. Just make sure that the headset you are trying to set up is turned on and is displaying the “Download the Oculus App” screen, with a 5 digit code in the bottom left corner.
Once the app has discovered the headset you will be asked to provide login details for your wifi network. Once that has been entered successfully you can complete the wizard, setting up the controllers if need be, and watching the safety video.
Install content on the headset
As we have created a shared account for all headsets, we are now able to install the same apps on each device. Assuming you have already purchased some apps, you can do the rest directly from the Oculus Quest.
Put on the Oculus Quest and go to Navigate > Library. On the sidebar on the left hand side, choose “Not Installed” to see all the apps that are available in your account but haven’t been installed on this headset yet. You can simply install the apps that you want and the headset is now set up and ready to go.